I chose this recipe because it sounded nice and refreshing for a hot spring day! While looking over the recipe, I decided I would use the short cut used on Lick the Bowl Good for the blueberry jam. So I purchased nice blueberry jam, squeezed in the juice of one lemon and then pureed it. Remember, I am 40+ weeks pregnant!
Then I knew I would need to change the lemon frosting recipe because the original one uses raw eggs. I've never made a recipe that uses an entire raw egg before- just egg whites. I am curious to try it, just not while pregnant. Luckily, I have my own lemon buttercream recipe that I LOVE. It's the same recipe that I use for my Strawberry Lemonade Cupcakes which can be found here.
 Blueberry Jam from Lick the Bowl Good
Ingredients:
-1 jar of nice blueberry jam (I used Bonne Maman)
-juice of a lemon
Squeeze the juice from a lemon and puree with the jam.
Now on to the recipe from Sky High:
The Cake
Ingredients:
 -2 sticks of butter, softened
-2 C. sugar
-2 tsp. lemon zest (I zested an entire lemon and didn't measure)
-1 1/2 tsp. lemon extract (oddly, something I always have in my baking supplies)
-7 egg whites
-3 C. cake flour (read below for my substitution)
-4 tsp. baking powder
-1/2 tsp. salt
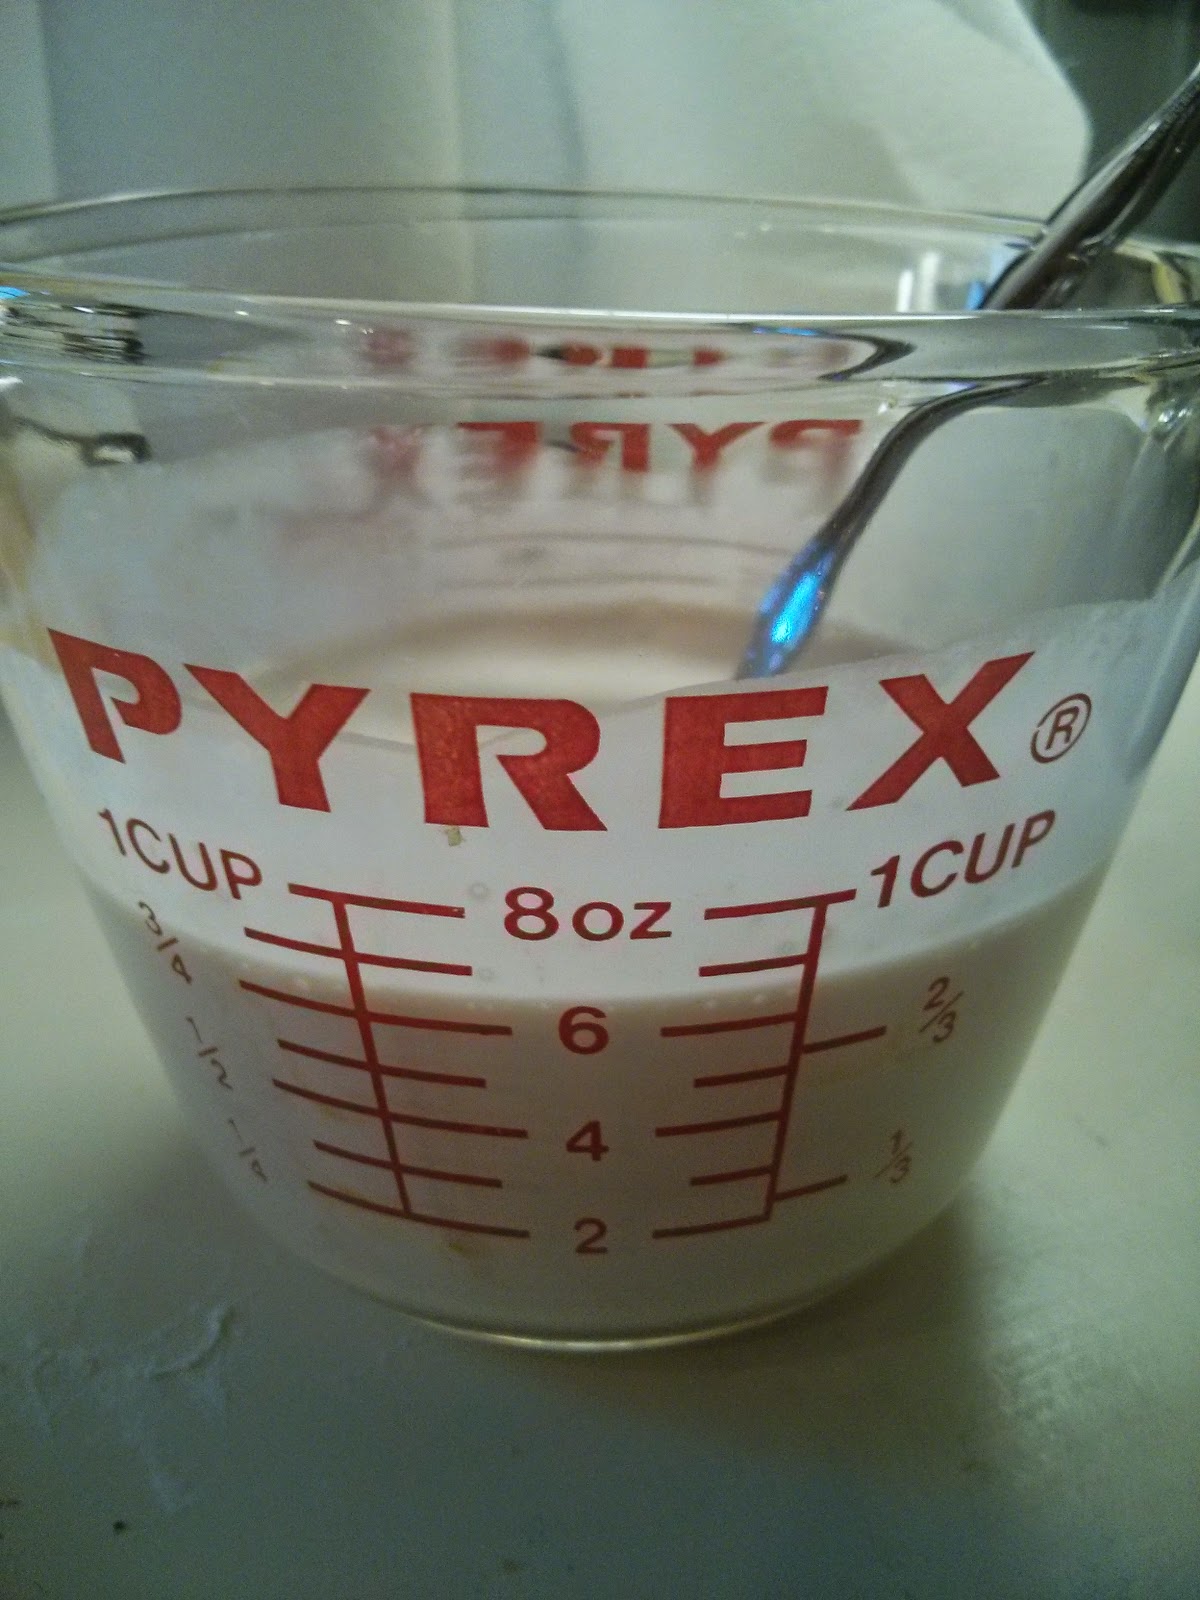
- 1 1/4 C. milk
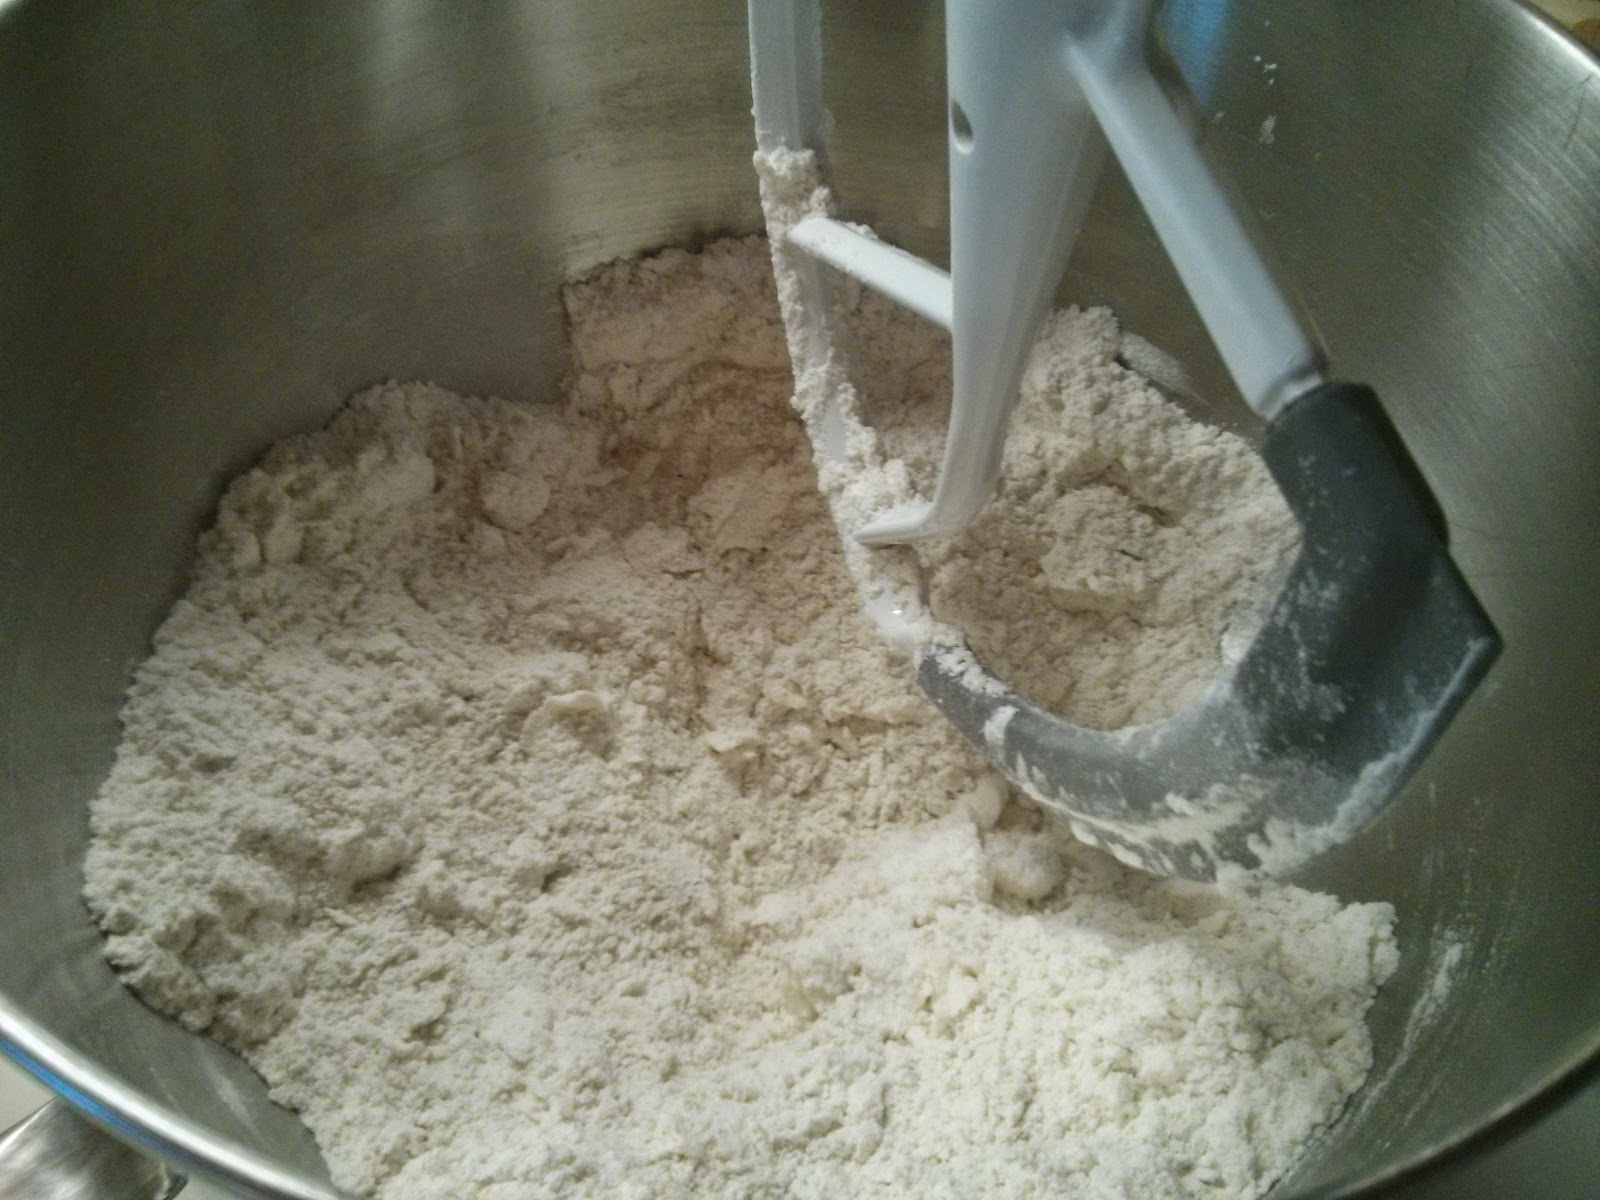
Cream together the butter, sugar, lemon zest, and extract. Mix in a few egg whites at a time. Once well combined, add in the dry ingredients alternating with the milk.
I hate to get a second bowl out to mix the dry ingredients. What I always do is mix in the baking powder and salt (or whatever small amounts of dry ingredients are needed). Then I alternate adding the flour with the milk. That saves me from having one more dish to wash! (I'd like to insert again, remember I am 40+ weeks pregnant, but I have always done this...)
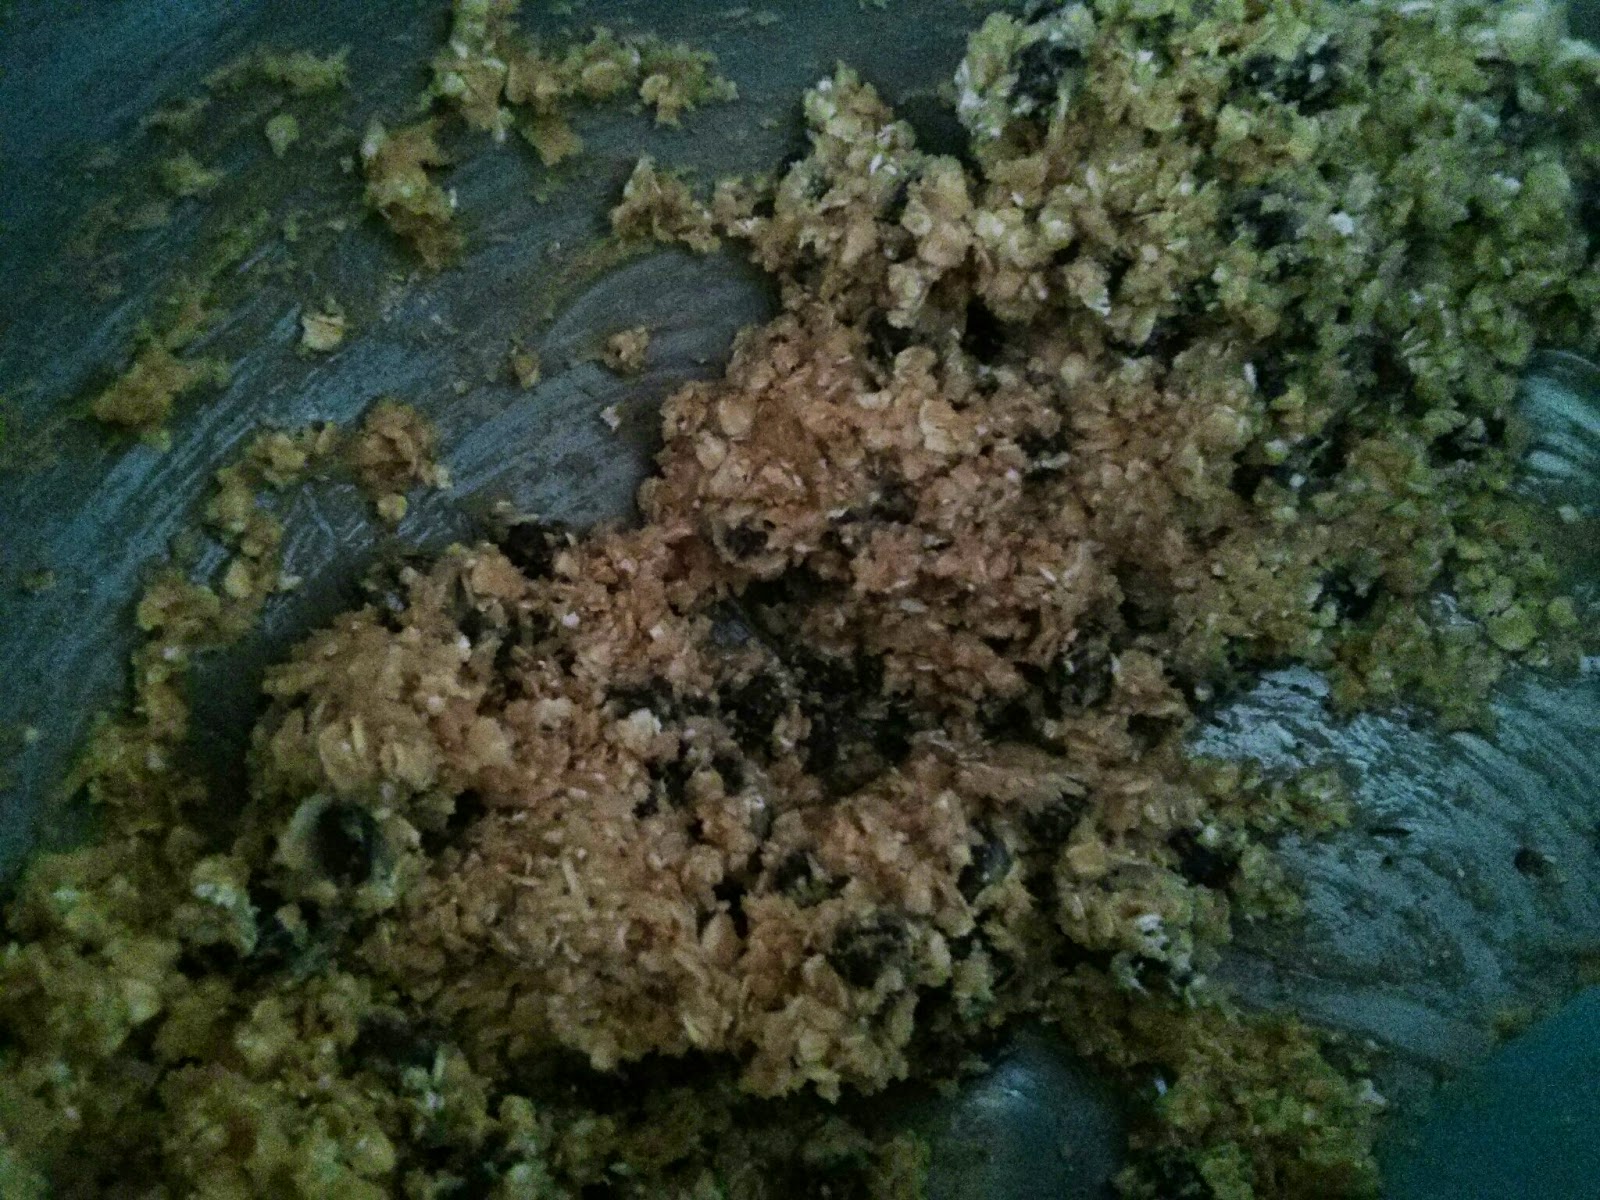
Then you scoop out 1 C. of the batter. Evenly distribute the batter between three 8" cake pans that have been greased, floured, and covered with parchment paper. Using the reserved batter, mix in 2 1/2 Tbsp. of the blueberry jam. Next, spoon in the blueberry batter and swirl it around to give it the marbled effect. I used a skewer, which was recommend on the blog to swirl the batter. I don't think it was the most effective method. Next time, I think I would use a spoon and fold the blueberry batter in to make the cake more marbled.

Bake the cakes for 20-25 minutes at 350. Allow the cakes to cool for about ten minutes before flipping them from the pan. Then allow the cake to cool completely before frosting.
Use the remaining blueberry jam (I thought it was quite runny after pureeing the jam so I put it in the refrigerator it to allow to firm up a bit) to spread in between the layers of cake.

The Buttercream from me!
 -1 cup butter, softened
-3 1/2 cups powdered sugar
-1 teaspoon vanilla extract
-2 tablespoons heavy cream
-juice of 1 lemon
-1/2 teaspoon lemon extract
With an electric mixer, cream together butter in a bowl. Add a 1/2 cup of powdered sugar at a time. Mix in one at a time, vanilla, cream, lemon juice and lemon extract. Scrape the sides of the bowl in between adding the ingredients. Beat on high for 10 minutes until frosting is light and fluffy.
This made enough batter for the cake since you use the jam in between the layers of cake. Frost the cake and decorate.

Don't forget the crumb coat when frosting! I think this was one of the most useful cake decorating tips I've ever received!


As always, enjoy!