Showing posts with label Breakfast. Show all posts

Sunday, February 22, 2015

Cinnamon Chocolate Chip Scones

There is no better treat than homemade breakfast during the week!  On Friday, our schools had a two hour delay so I was able to whip something up for breakfast. I usually make pancakes (from scratch) because that's what my mom always did.  I decided not to because I made pancakes last week and caught the stomach bug.  Let's say I wasn't ready for pancakes again.

On that note...

As I stayed snuggled up in my bed and on Pinterest, each recipe I thought sounded great, I didn't have all of the ingredients on hand.  Then I remembered seeing a pin for Chocolate Chip Scones that looked good.  For whatever reason, I hadn't pinned it.  I found the recipe for Chocolate Chip Scones from Sally's Baking Addiction.  Luckily, I had everything I needed (basically).


Ingredients:
-8 Tbl. of unsalted butter (cut into chunks)
-2 C. flour
-2 1/2 tsp. baking powder
-1 tsp. cinnamon
-1/2 tsp. salt
-1/2 C. heavy cream
-1 egg
-1 tsp. vanilla extract
-1 C. semi-sweet chocolate chips

I used the same measurements that were posted on Sally's Baking Addiction.  My only ingredient change was that I didn't use the mini semi-sweet chocolate chips. The scones were great with regular chocolate morsels.


The process I used to make the scones differed slightly.
Here's what I did:
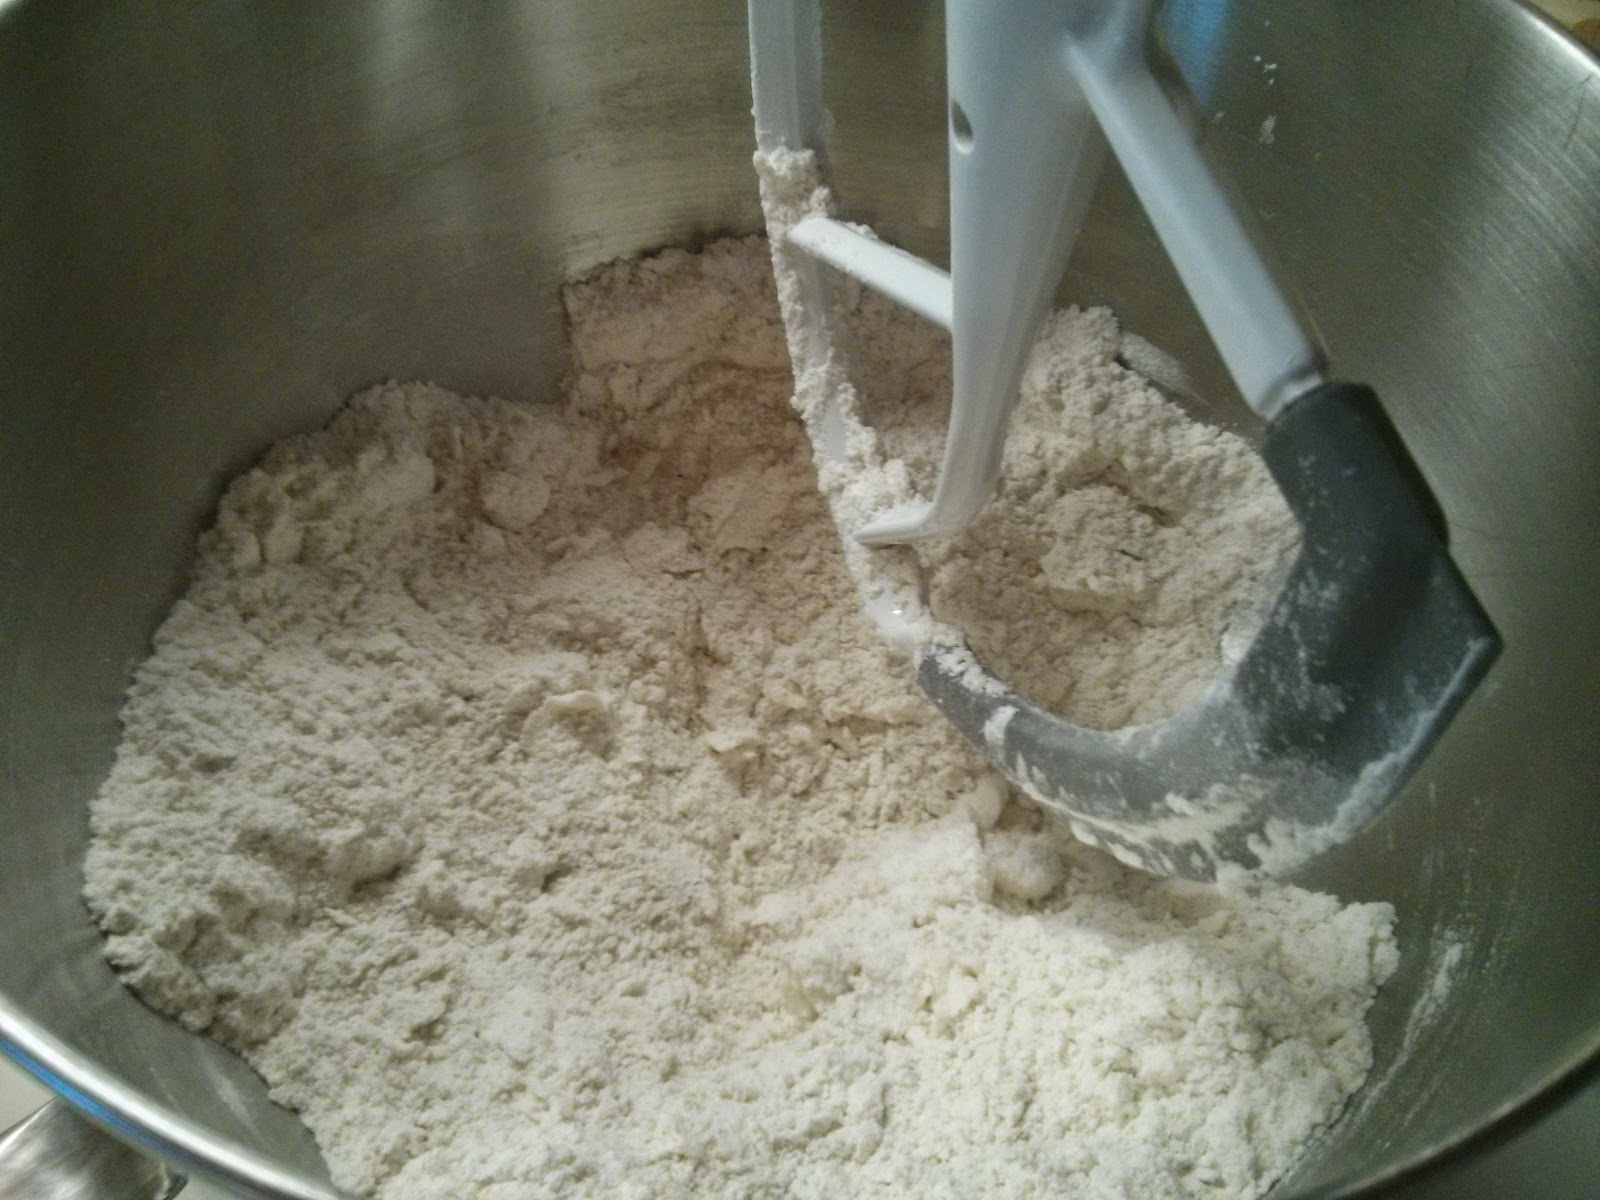
First, cut the cold butter into chunks.  Place it in the bowl of the stand mixer.  Stir in the flour.  Allow the flour and butter to mix until the butter is broken into small, pea-sized pieces.  Then add the remaining dry ingredients.


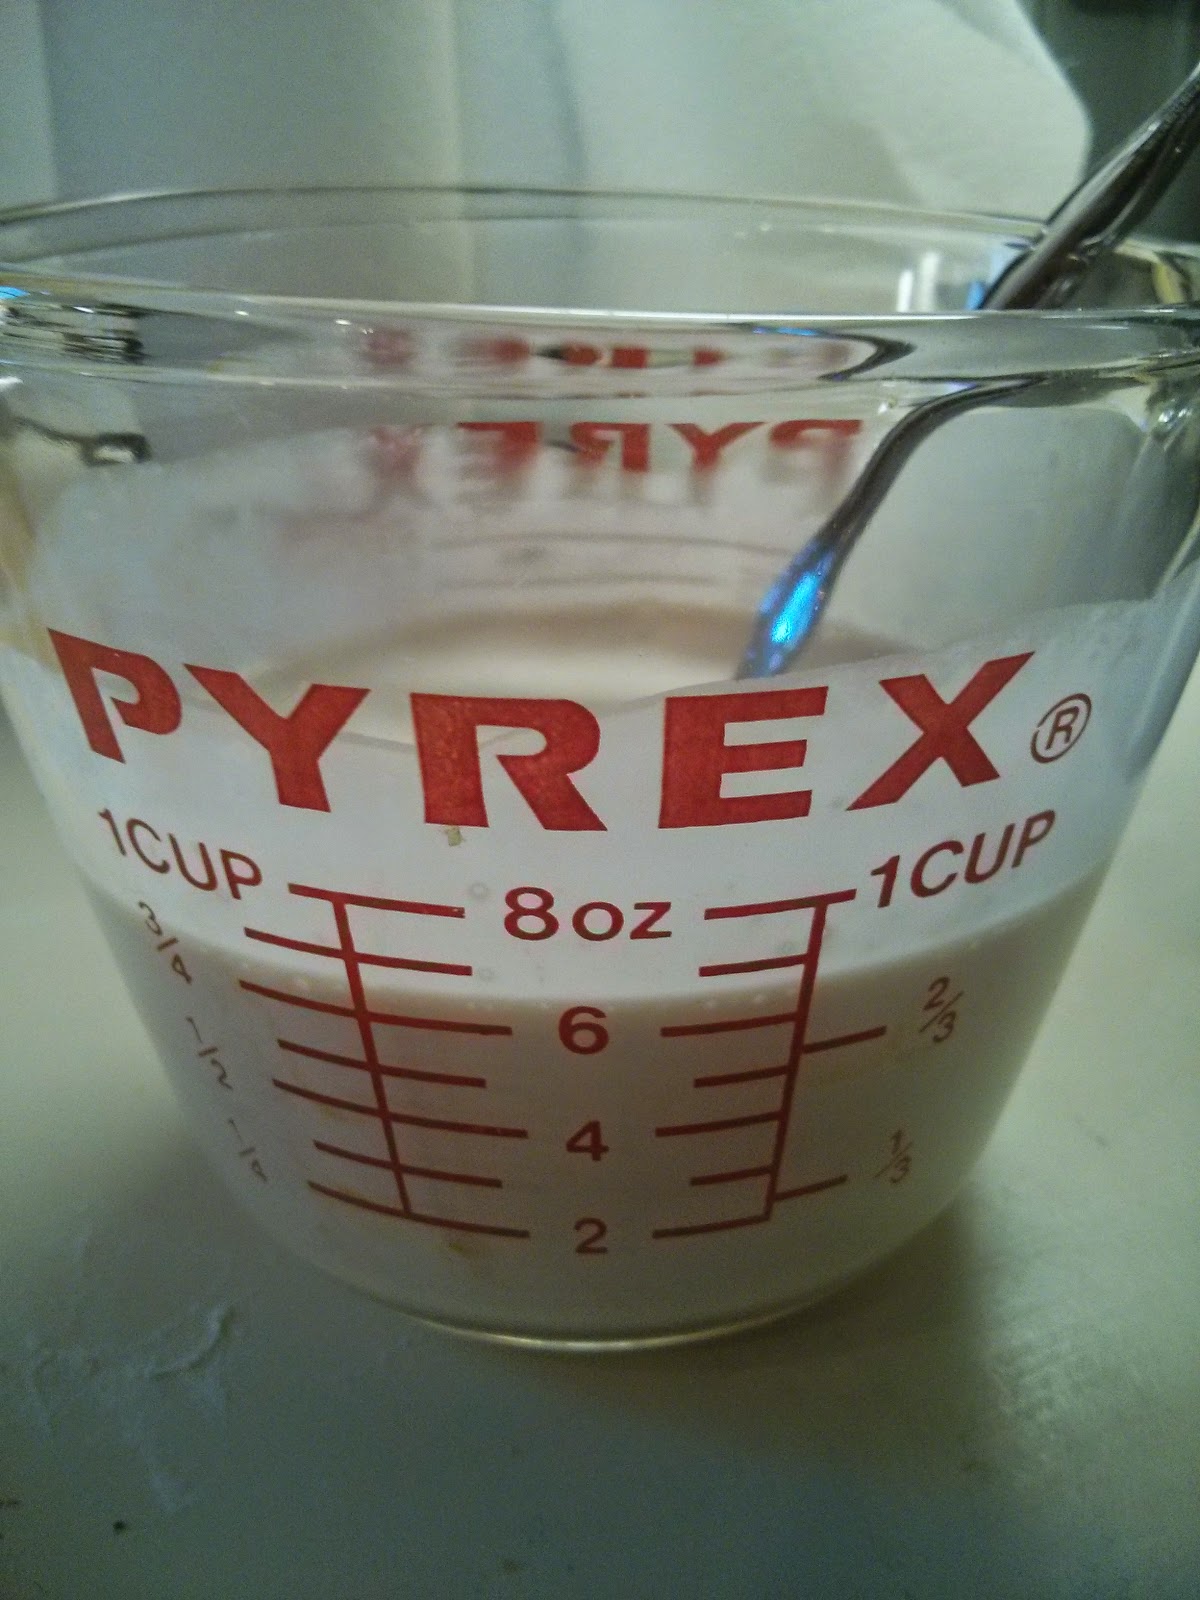
In a separate dish, gently whisk the heavy cream, eggs, and vanilla.


Next, pour the liquids into the dry ingredients and mix until well combined.  Last, add the chocolate chips and stir until the chips are nicely distributed.


Once your dough is set, I divided it into two mounds of dough.  I rolled out each mound of dough to about a 1/2 inch thick disc.  Then I divided each disc into eight slices and placed on a baking sheet covered with parchment paper.  This resulted in 16 scones.  I baked the scones at 400 for 17 minutes.

I was a fan of these scones! I decided to call them Cinnamon Chocolate Chip scones because the cinnamon flavor isn't subtle.  This process for using the mixer is the same way I make all of my scones now.  This method has worked out well for me and was the one I shared back here with Lemon Cream Scones.


As always, happy baking!

Tuesday, August 5, 2014

Blueberries Galore

Blueberries have always been my favorite fruit.  Each summer growing up, we'd go blueberry picking in Vermont.  In fact, one of my most humiliating stories involves a time when I was a toddler, went blueberry picking, and ate waayyyy to many of those...

My mom and I decided to go blueberry picking at a local blueberry farm: Frog Eye Blueberry Farm.  In no time at all, we had picked five pounds of fresh, beautiful, delicious blueberries (and I might have had 4 pints of blueberries already in my fridge).  I can eat a lot of blueberries, but not that many.  So of course, I decided to scroll through my Recipes to Try board on Pinterest and see what I could whip up!

I have now made 295 new recipes that I've found on Pinterest!  I hope to make it to my 300 goal by the weekend!  I made two blueberry recipes so far.

I made the most moist blueberry coffee cake found on Alexandra Cooks.

I had slight adaptions to the recipe (made it italics).  Here's what I did:

Ingredients:

  • ½ cup unsalted butter at room temperature
  • Zest and juice from 1 lemon
  • 7/8 cup of sugar, plus 1 Tbl. (divided)
  • 1 egg
  • 1½  tsp. vanilla
  • 2 cups flour 
  • 2 tsp. baking powder
  • 1 tsp. salt
  • 2½ cups fresh blueberries
  • ½ cup buttermilk
Begin by creaming the butter, sugar, and lemon zest.  Then beat in the egg and vanilla until well combined.  Next, mix in the flour, baking powder and salt.  After it's well mixed, fold in the buttermilk.  End by folding in the blueberries.  Then pour the batter into a greased and floured 9x9 pan.  Sprinkle the remaining 1 Tbl. of sugar on top.  Bake at 350 for a LONG time- about 50 minutes.  At this point at toothpick should come out clean after inserting it into the middle, and the edges should be golden.

As this was baking, I began working on a blueberry cake from I adore food.  After reading the comments on this blog, I decided I would use my own recipe for lemon buttercream frosting.  I baked the cake in a deep 6inch pan.  The cake was good, but I do have to say I think my buttercream made the cake.  


Here's my own recipe for Lemon Buttercream:
1 C. butter, softened
3½ C. powdered sugar
1 tsp. vanilla extract
½ tsp. lemon extract
juice of 1 lemon
2 Tbl. heavy cream

Cream together butter and sugar. Mix in the powdered sugar by adding 1/2 C. at a time.  Then mix in the remaining ingredients and beat for about 7 minutes until the frosting is light and fluffy.  

You can find my strawberry lemon cupcake recipe here, which includes this lemon buttercream. This was published in the Herald Mail for being a finalist in the cupcake competition.

Thursday, July 10, 2014

Cinnamon Rolls!

A week ago my husband, mother, sister and I returned from an Alaskan cruise and oh, boy was it fantastic! We had perfect weather.  The sights were beautiful and we saw countless humpback whales, orcas, sea lions, and eagles. We got close up and personal to glaciers.  It was an unforgettable trip! I took almost 2,000 pictures- here's my favorite group shot.
Family photo at the Davidson Glacier

If any of you have ever cruised, you know that while cruising you are overeating (and drinking).  Every thing we ate was fantastic...from lobster tails to chateaubriand, ice cream cones to Baked Alaska, cinnamon rolls to stuffed french toast....the list goes on and on and on (and on...).  

Pat's favorite thing about breakfast on a Carnival cruise is their cinnamon rolls.  We are talking probably three cinnamon rolls each morning.  So I decided I would make some homemade cinnamon rolls this week.  I typically make the Pillsbury cinnamon rolls because they require zero effort and are pretty tasty!  I've made some homemade cinnamon rolls but decided to try out a new recipe from Pioneer Woman.  I used her recipe for the rolls themselves, but decided to use a different icing.  I used a recipe from All recipes for The Perfect Cinnamon Roll .  I mixed up the icing because The Pioneer Woman's icing had real maple syrup and coffee-two of Pat's least favorite things.  

I halved the cinnamon roll recipe.  Some of her measurements were general, so I will tell you exactly what I did.

Ingredients:
*2 C. of milk ( I only had skim milk so I mixed in about 1 Tbsp of heavy cream)
*1/2 C. sugar
*1/2 C. vegetable oil
*1 package of dry, active yeast
*4 1/2 C. of flour
*3/4 tsp. of baking powder
*1/2 tsp. of baking soda
*1/2 Tbsp of salt
*2/3 C. of melted butter
*1 C. of sugar
*enough cinnamon to coat the dough

Heat the first three ingredients over medium high heat.  Allow to cool for about 40 minutes.  Please let it cool otherwise the yeast won't activate.  Then sprinkle in the yeast and let it sit for a couple of minutes.  Next transfer this liquid mixture to your Kitchenaid bowl.  On a low speed, mix in 4 cups of flour.  Then cover the bowl and allow the dough to rise for about an hour.  Next add the baking powder, baking soda, and salt.  Once everything is well combined, add the next 1/2 C. of flour.  Cover and place in the fridge until you are ready to use it.  I did this the afternoon before.
In the morning or when you are ready to use the dough, split the dough in half.  Roll it out thin and rectangularly (I know that's not a real word, but you know what I mean!).  Pour and spread 1/2 of the melted butter onto each of the rolled dough.  Evenly sprinkled 1/2 C. of sugar on each half.  Then cover it with cinnamon.  Roll in rectangle then cut into thin slices.  I probably cut each roll about 1/3 of an inch.  This recipe yields about 50 cinnamon rolls.  
Bake at 375 for about 15 minutes. While they bake, work on the icing so it will melt all over the rolls.
I followed the recipe from Allrecipes.com exactly.  When the cinnamon rolls are ready, pour the icing on top and enjoy!

Ready to bake!


Ready to eat! You know you want to make them so go ahead and do it!

Thursday, May 1, 2014

Chocolate Chip Banana Bread

I have made a bunch of different banana bread recipes- what else would I do with my "too ripe" bananas?

Yesterday, I came across a recipe for Streusel Topped Chocolate Chip Banana Bread from Barbara Bakes and it seemed the perfect recipe to try out with my super ripe bananas.

I made a few minor adaptions to the recipe:

  • For the bread:
  • 2 cups all-purpose flour
  • 1 teaspoon baking powder
  • 1 teaspoon baking soda
  • 1/4 teaspoon salt
  • 1 cup smashed very ripe bananas 
  • 1/2 cup sugar
  • 1/2 cup plain yogurt
  • 2 eggs
  • 1/4 cup butter, melted
  • 1 teaspoon vanilla
  • 1 cup semi-sweet chocolate chips
  • For the topping:
  • 1/4 cup sugar
  • 2 tablespoons all-purpose flour
  • 1 1/2 tablespoons butter, melted
I ended up needing to bake the banana bread for 75 minutes at 350!  Which is crazy! I don't know if that was because I swapped the sour cream for yogurt or what, but I've never had to bake banana bread for so long! The banana bread rose a lot! It is very deep. If I were to make this again, I would substitute some brown sugar in both the bread and the topping.  I think I might also add some more banana, it was not very bananan-y.  The 1 cup of chocolate chips was perfect to have a taste of chocolate in every bite.

Saturday, March 15, 2014

When Life Gives You Lemons...

You bake with them!

Yellow is such a happy color!  My mom always had a yellow and blue kitchen and I knew that when I was a homeowner I wanted the same colored kitchen.  Yellow and blue are such a perfect color pair.

Enough about yellow and blue, sort of....I was lucky enough to be offered to trade my 4 qt. Kitchenaid for a Professional 6 qt one. I was very sad to see my old, white one go, but I really needed a bigger one. I love the size of my new one, but it was matte gray- not the prettiest.  On Pinterest, I found subway art for your KitchenAid.  My mom bought me this one- in yellow, of course, for my birthday.

Waking up on this beautiful sunny, Saturday, I decided to put on the vinyl for my mixer.
I absolutely love it! My mixer looks prettier and it adds an extra pop of yellow!

To continue you with the color of happy, I decided to make a Lemon  Cream Scone recipe I pinned recently.  My husband loves lemon things and had commented how it had been awhile since I made anything lemony.

I followed the recipe exactly and was quite please with the outcome! They were by far the easiest scones I have ever made.

Honestly, start to finish (yes, including baking time) they took 20 minutes.  The most time consuming part was zesting and juicing the lemons.

The recipe tells you to toss in chunks of cold butter on low in the mixer until it becomes pea sized.  I had never done this before.  I have always cut the butter in with two knives because I have never had a pastry cutter.  This was not only easily accomplished in the mixer, but worked very well and saved me a lot of hassle!

Mmm, see the freshly poured glaze on top? I devoured this long before the scones ever cooled.  I will certainly make this recipe again.  I will continue to use the mixer to cut the butter into my scone dough. As On Sugar Mountain blogged, I think I try this again with blueberries to make a very springy scone.


Sunday, February 23, 2014

Weekend Breakfasts

During the week I get to work about an hour and a half before I am "contracted" to be there.  I put that in quotes because if I showed up at my contracted time, I would have kids entering the classroom along with me. So as you can imagine weekday breakfast, like yours, are quick...typically instant oatmeal or toast.  On the weekends, I love to bake breakfast!

I do in fact mean bake not make.  I am not an egg eater (unless it's baked into something amazing!), nor do I care for bacon (I know, I know! You LOVE bacon!) or sausage.  So I usually end up baking something carb-filled and scrumptious!  I most often make pancakes or waffles. I could eat pancakes every day, but my husband prefers waffles.  I have fantastic recipes for both, that maybe I'll share on here!

The kitchen counter displayed some very ripe bananas this morning.  I hate to just throw bananas away, so I make banana bread or muffins...which are far from being good for you.  I recently found this pin for Banana Oatmeal Breakfast Muffins and figured they'd be a much healthier way to use up the bananas.

I followed the recipe almost exactly.  The recipe called for 2 Tbl. of flaxseed, which I did not have.  Flaxseed is used for a few different purposes- one of which is an egg substitute.  Since the recipe called for eggs, I knew it wasn't that.  Another purpose can be as substitute for oil or butter, and once again, this recipe had Greek yogurt, so I figured I could rule out that purpose.  I decided the flaxseed could have been for flavor, so I added a dash of cinnamon instead.  The tiny hint of cinnamon was fantastic!

My verdict: I'll definitely make these muffins again- I didn't feel guilty for eating two!