Monday, February 2, 2015

Beef and Orange Stir Fry

Up next in our recipes from Everyday Food:  Great Food Fast, we made Beef and Orange Stir Fry. The recipe is in the book and available online. You've read my rants for my love of Chinese food and Orange Beef is one of my favorites- especially from Fuji.  So of course this dish sounded quite appealing to the two of us.

Martha Stewart's turned out much prettier than mine did...


This recipe was very simple to make and required a minimal amount of ingredients.  The original recipe does call for boneless sirloin or rib eye and we used flank steak. We decided to use flank steak because when making Mongolian beef the recipe calls for sirloin or flank steak and it is much, much better with flank steak.  Aside from switching the cut of beef, we followed the recipe exactly.

Ingredients:
-3 oranges
-2 cloves of garlic
-2 Tbl. soy sauce
-1 to 1.5 lbs of flank steak
-1 Tbl. cornstarch
-2 Tbl. canola oil
-a few scallions

For the sauce:  Juice one orange and add the garlic and soy sauce.  We were both surprised this recipe didn't call for any ginger, which is probably something we'll add next time.

For the meat:  Slice the meat thin.  Then, heat the oil.  Coat the flank steak in corn starch and cook a few minutes on each side until browned.  Then pour the sauce in.

For the remaining oranges:  You don't want to peel the other oranges.  You are going to cut them in sections and remove the pith.  Once the steak is cooked and the sauce is added toss in the scallions and the oranges.

I am sure this would be great over rice, but I haven't wanted anything to do with rice since I've been pregnant.  We ate this with couscous.

As I mentioned, next time I think we'd add ginger to the sauce.  This was a quick and flavorful meal to make during the week.

On another note, I bought these today...
My first thought when I heard about them was Red Velvet Oreo Truffles! Mmm! I cannot wait to give those a try!

Saturday, January 31, 2015

Baklava

I interrupt my posts from Everyday Food:  Great Food Fast from the Kitchens of Martha Stewart Living to bring you this post on Baklava.

I first tried Baklava around the holidays.  One of my mom's coworkers wife made Baklava and it was heavenly! The other weekend I came across a recipe for Baklava on Pinterest.  When I mentioned this to Pat, he was very intrigued and was hoping I would try out this recipe sooner rather than later.


The recipe I used came from Natasha's Kitchen.  After reading over the post on Natasha's Kitchen, I thought that Baklava looked simple to make.  As it turns out, Baklava was very simple to make; it did, however, take a while (about an hour and a half to assemble) and some patience.


Following the recipe from Natasha's Kitchen, here's what you'll need:


1 (16 oz) pkg Phyllo dough, thawed 
2 sticks melted butter
4 C walnuts, finely chopped
1 tsp ground cinnamon
1 C granulated sugar
juice of 1/2 lemon
3/4 cup water
1/2 cup honey


Natasha's Kitchen has a great step by step post about how to make the Baklava.  Here are my suggestions:  thaw the Phyllo dough in your fridge overnight so you are ready to begin in the morning.  You will want to do this in the morning because it takes about an hour and a half to prepare, another hour and a half to bake, and several hours to cool.   (Although, I can attest to the fact it can be eaten after about 2 hours).  


The original post said to make the sauce first, but I decided to get working on the assembly.  I started by chopping the walnuts in my food processor and adding the cinnamon.  


Then, you layer the thawed Phyllo dough by placing one sheet of Phyllo dough, then smearing it with melted butter.  For the first set of dough, you use 10 sheets of dough.  Next, sprinkle about 3/4 C of the walnuts and cinnamon to coat the dough.  Continue with 5 butter/ Phyllo dough layers, and more nuts.  Repeat 3 more times.  End with ten more layers of butter/ Phyllo dough.  Before you put the Baklava in the oven, you cut the it into pieces.  
Bake at 325 for about an hour and a half.  After you put the Baklava in the oven, you need to make the syrupy sauce.  Heat the sugar, lemon juice, water, and honey on the stove for until boiling.  Yes, as Pat said, "You need to add sugar to the honey?!" Then simmer until the sugar dissolves.  Remove it from heat to allow it to cool.


Once the Baklava is golden brown, remove it from the oven and pour the sugariness on top!  There should be a nice sizzling sound.  I, then, topped mine with some more of the crushed walnut and cinnamon mixture.


Allow it to cool and enjoy!  My non-chocolate loving husband devoured 3/4 of the pan in 5 days.  He is ready for more!


This was not as sweet as the Baklava I originally tried.  I think you could make more syrup to pour over the top.  I also should have melted more butter.  The top layer was a bit flaky and not as cohesive as the other layers.  Next time, I would probably melt 2 1/2 sticks of butter.  The only annoying part of this process was putting the first sheet of Phyllo dough down after the nut layer.  This layer wanted to shift around when I was spreading on the melted butter.  You will probably need to trim your Phyllo dough to fit your pan.  I was about to cut half of the dough at a time with my kitchen scissors.  This recipe is definitely a keeper and definitely something that you can make and enjoy too!

Tuesday, January 27, 2015

Orecchiette with Sausage and Roasted Peppers

I always plan out the meals for the week.  In part, so I don't have to run to the grocery store many times a week, but MOSTLY because when Pat and I started living together, I was annoyed by the frequency in which he asked what was for dinner.  I started making a menu board that way he doesn't have to harass me about meals.

Unsure about dinner ideas for this week, Pat pulled a cookbook off of the shelf and we decided to choose several new recipes from there.  This week we are making 6 new recipes that all come from Everyday Food:  Great Food Fast from the Kitchens of Martha Stewart Living.  The recipe can be found online here.  I do recommend getting this cookbook because we haven't been disappointed in any of the recipes we've tried.  Here's a link to the book, on Amazon of course!

(Let's be honest, you get frequent packages from Amazon too! I know I am not alone with the addiction of Amazon Prime.)

The cookbook states it takes 40 minutes total to make this meal.  Usually, I found that in reality, it takes longer than the recipe states, especially if it's a new recipe.   To my surprise, this recipe took less than 40 minutes to make!


We began by boiling the water because pasta is always the slowest part.  Meanwhile, slice peppers into four parts and broil.  This is where we saved some time, the peppers were pretty charred after about 10 minutes, when the recipe says 18-20 minutes.    Once they're out of the oven, steam them for about 4 minutes in a plastic wrap, covered bowl.  Then remove the peels.  I had such an easy time getting the peels off of the red peppers- the yellow peppers were a different story...Finally, slice the  peppers in skinny strips.

While the peppers are charring, we began to brown the sausage.  We halved the recipe since two people shouldn't eat a pound of pasta.  Please note;  I said shouldn't, it was not a matter of whether or not we could eat a pound of pasta.  Since being pregnant, I am following Brewer's diet.  Part of this is that I am to get 80-100 grams of protein a day!  That being said, we stuck with the pound of sausage that the recipe calls for (essentially doubling the sausage).


You do not drain the fat because it becomes part of the sauce.  Once the sausage is browned, you add in the pasta, 1/2 cup of the reserved pasta water, butter, peppers, Parmesan, and a dash of salt and pepper.

My thoughts?  This recipe was simple, quick, and full of flavor!  I thought that there was a good amount of sausage.  The only change I would  make would be to dice the peppers.  With the orecchiette and the sausage being small, having long strips of pepper was a little weird.  Even halving the recipe, we each ate a bowl for dinner, my mom got a small bowl to try, and we had two more servings for lunch.  A win in my book!


Other meals we are trying from Everyday Food:  Great Food Fast from the Kitchens of Martha Stewart Living this week are:

-Beef and Orange Stir Fry
-Shredded Beet and Carrot Salad
-Lemon-Parsley Pork Chops
-Garlic-Marinated Chicken Cutlets with Grilled Potatoes
-Steak and Onion Sandwiches

Sunday, January 25, 2015

Chocolate Chip Oatmeal Cookies: The Next Attempt at my Go-to Recipe

Without realizing it, my third recipe selection for my new, go-to chocolate chip cookie recipe also comes from AverieCooks.  This is the same blog where my previous recipe came from.

This week I made "The Best Oatmeal Chocolate Chip Cookies" from AverieCooks.  On the blog, Averie shared that this recipe was based off of her Oatmeal Scotchies recipe.  As I looked the recipe over, I thought it looked very similar to my Oatmeal Raisin cookies so I made some adjustments to the original recipe.

Awhile ago, before searching for a new go-to recipe I tried yet another recipe from Averie Cooks for Soft and Chewy Oatmeal Coconut Chocolate Chip cookies.  Pat and I both loved these cookies!  They used coconut oil instead of butter and also have shredded coconut in them.  Pat has become a fan of coconut, which is why I decided I would try out that recipe.  However, we both that they were a good cookie, but really should be Oatmeal Coconut Raisin cookies.  Of course, I tested that out. This time, we thought the cookie was good, but that my go-to Oatmeal Raisin cookie was better.

That being said...

Here is my adapted recipe for "Oatmeal Chocolate Chip Cookies" from AverieCooks.

Ingredients:
1 large egg
1/2 C unsalted butter
1/2 C light brown sugar
1/4 C granulated sugar
1 tablespoon vanilla extract
3/4 C all-purpose flour
1/2 teaspoon baking soda
1 tsp of salt*
1 1/2 cups old-fashioned whole rolled oats (I used quick cook)*
3/4 C all-purpose flour
1/2 teaspoon baking soda
1 tsp of salt*
3/4 C semi-sweet chocolate chips*

Begin by creaming the butter and sugars.  Next, mix in the egg and vanilla.  While the mixer is on a low speed, add the baking soda, salt, and flour.  Stir until well combined.  Then add in the oatmeal.  Finally, mix in the chocolate chips.

Form large balls of dough and flatten slightly.  Bake at 350 for about 10 minutes and enjoy!


My adaptions:
As I mentioned, I wanted these to be chocolate chip cookies, not chocolate chip cookies that you wished were oatmeal raisin (because that should never happen!).   
  • The original recipe called for 1/2 tsp to a whole tsp of cinnamon which I omitted.  
  • Once again, I put in my usual amount of 1 tsp. salt, where AverieCooks suggested a pinch.  
  • The original also called for either raisins or nuts, and I omitted because I didn't want the cookie to be a trail mix cookie; I wanted a chocolate chip one.
  • AverieCooks also said not to use quick cook oats, but I always use them when I bake, so I figured I should with this recipe too.
  • I also cut back on the chocolate chips.  I know you're probably surprised!  But this recipe is about half of what my normal recipe is, but the recipe was for the same amount of chocolate chips.
  • This dough also required refrigeration. I skipped that step because frankly, I didn't see the point.  This is quite similar to my oatmeal raisins and that doesn't get refrigerated.  Also, with all of the adaptions I made, it was quite similar to my current go-to recipe and that also does not get refrigerated.
Thoughts?
I thought the cookies were great! They were the most soft cookies I have made in the last 3 attempts.  I made them four days ago and they are still soft.  Even with my adaptions because of the amount of oatmeal, Pat thought that they should have been oatmeal raisin cookies.  He did love the cookie dough though- thought it tasted like my regular dough!  I have one more recipe to try that a friend sent my way, but then I think I am going to tweak my current go-to and share the results- it's similar to this adapted recipe.  

Happy baking!

Monday, January 19, 2015

The Search Continues: Chocolate Chip Cookies

This weekend I decided to try out another chocolate chip cookie recipe.  These cookies were good, big step up from the recipe I shared last week. This week I tried out a recipe from Averie Cooks.  Their recipe for "The Best Soft and Chewy Chocolate Chip Cookie."


Here's my slightly adapted recipe from Averie Cooks:
(I changed the salt and chocolate chips).

3/4 cup unsalted butter, softened 
3/4 cup light brown sugar, packed
1/4 cup granulated sugar
1 large egg
1 teaspoon vanilla extract
1 teaspoon baking soda
1 tsp. of salt
2 cups all-purpose flour
one 3.5-ounce packet instant vanilla pudding mix
1 C. of semi-sweet chocolate chips

Cream the butter and the sugars.  Add the egg, vanilla, baking soda, and salt.  Then mix in the flour.  I always mix in 1 cup at a time.  Next, add the vanilla pudding mix.  Stir in the chocolate chips.

Scoop the dough into large balls, then flatten.  Refrigerate for at least two hours.  Then pull out the chilled dough and bake at 350 for about 11 minutes.  

Here are my thoughts about the cookies:
     *The cookies are soft, but I definitely wouldn't call them chewy.
     *The cookies  have a nice flavor.  I was afraid between the vanilla pudding mix and the vanilla extract that the cookies would be too vanilla-y.  Also, I am VERY glad that I put in my usual 1 tsp. of salt, instead of the pinch of salt recommended by Averie Cooks.  
     *I find it inconvenient to have to refrigerate chocolate chip cookie dough- it's not like the cookies get rolled.
     *The cookies have a short shelf life.  I made the cookies Saturday morning, now Monday morning, the cookies are no longer very soft.
     *Adding pudding mix to your go-to chocolate chip cookie recipe, seems annoying.  I wasn't so sure of the purpose of using it.  I found on Seasoned Advice that the purpose is like cornstarch- to help soften your cookies.  I'd prefer to add cornstarch, instead of buying instant pudding mix for my cookies.  
     *The depth of the cookies were nice and noted by Pat and a dear friend.  


I'll try out a few more recipes, but I think I am going to end up making some minor tweaks to my current go-to recipe.  

Sunday, January 11, 2015

The Hunt for the Best Chocolate Chip Cookie

Chocolate chip cookies are a staple at my house!  When I was little, we would make chocolate chip cookies all the time.  My mom still makes them regularly and keeps them in the freezer- she prefers them frozen.

I could go on and on about my love for chocolate chip cookies and the regularity in which I make them too.  I do have to admit...I've made them a lot less frequently since I've become pregnant.  Let's face it- one of the best things about chocolate chip cookies is getting to eat the dough, which I can no longer do!

My first regular (okay, my mom's first regular) chocolate chip cookie that I made was Crisco's.  We would use margarine instead of Crisco though.  Then we mixed it up and started using unsalted butter. Those days were years and years ago.

The second regular chocolate chip cookie recipe was the Nestle Toll House one. You know, the recipe right on the bag of chocolate chips.  I am sure nearly everyone has made this recipe.

Then one day, probably 10 plus years ago, my mom discovered an even better chocolate chip cookie. This recipe was from a friend and I adapted the recipe many times.  This recipe was the perfect mix of chocolate, salt, and even included oatmeal (a healthy cookie! haha).  Lately, these cookies have been too crunchy for my liking, but I LOVE the flavor.  Recently, I have decided that it is probably time for a new go-to chocolate chip cookie recipe.  So I have begun a hunt!

I am going to taste test various chocolate chip cookie recipes until I find my new go-to!  I will share my thoughts on each recipe.

My first attempt at a new go-to comes from Host the Toast.  The recipe is for "The Best Chewy Cafe-Style Chocolate Chip Cookies."  I picked this recipe for a few reasons:  the pictures of the cookie look incredible and she talks about how soft the cookies are and even mentioned that they may be softer on the second day.  I followed the recipe exactly.


Here are my thoughts:

  • The cookie has a nice buttery flavor.
  • The cookie was soft, but only for a few hours...
  • The cookie could really use more salt.
Adaptions to consider to my current go-to:
  • Try adding cornstarch, like in this recipe.
I know that I am doing you all a big favor by trying out all of these chocolate chip cookie recipes...It really is a burden having to taste test all of these cookies! Stay tuned for my next attempt at the best go-to cookie recipe.

Wednesday, December 31, 2014

Top 10 Post #10! Lettuce Wraps

Before we ring in the New Year, I need to finally write my post for my top 10 recipe from my first 300 pins.

When I was debating over what I would rank in the final top 10 spot, I was thinking about the Pinterest recipes we make again and again. There truly are very few recipes I wouldn't make again, as there are also very few recipes that are on our "regular" list.

That being said, the finally spot in the top 10 posts go to Lettuce Wraps.  The original recipes for "P.F. Chang's Chicken Lettuce Wraps" comes from food.com.


Ingredients:

Stir Fry
-3 Tbl. oil (we usually use canola)
-2 boneless, skinless chicken breast, diced*
-1 can of water chestnuts, diced
-4 oz. of mushrooms, diced
-half of an onion, diced*
-1 Tbl. of minced garlic*
-head of Boston Leaf Lettuce*
-crushed peanuts to top*


Stir Fry Sauce
-2 Tbl. soy sauce
-2 Tbl. brown sugar
-1/2 tsp. rice wine vinegar

Special Dipping Sauce (These ingredients are halved from the original recipe and still leave with plenty to use the next time you make lettuce wraps.)
-1/8 C. sugar
-1/4 C. water
-2 Tbl. soy sauce
-2 Tbl. rice wine vinegar
-2 Tbl. ketchup
-juice of half of a lemon*
-1/8 tsp. sesame oil
-1 tsp. of garlic and red chili paste

-The original recipe calls for 1 Tbl. of hot mustard diluted in 2 tsp. of hot water.  We omit this.  There is great flavor without it.

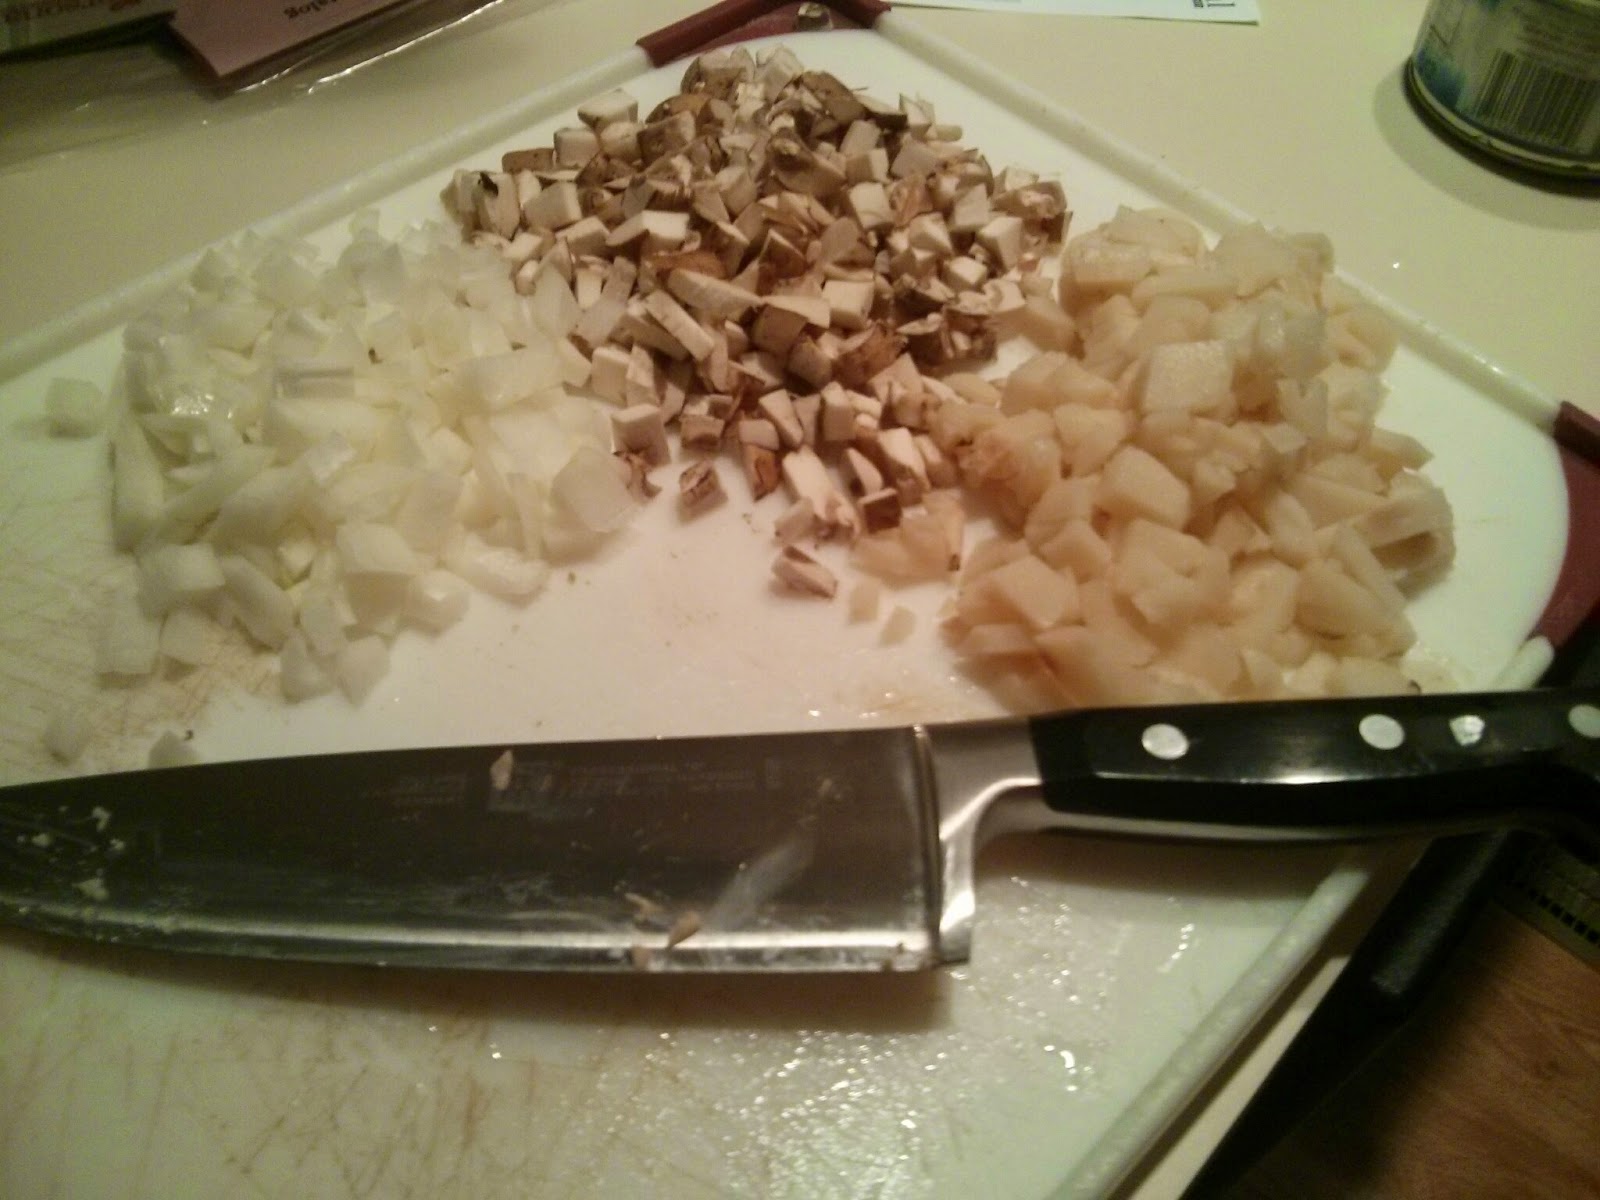
First, dice all ingredients approximately the same size (chicken, chestnuts, mushrooms, onion).  Heat the oil over a large pan.  Cook the diced chicken until cooked through. *Please note the original recipe calls for the chicken to be cooked as a whole breast than diced, we've found this to be quicker and easier.*

Add in the remaining stir fry ingredients.  Meanwhile mix the stir fry sauce.  After allowing the stir fry to cook for 2-3 minutes, pour in the sauce and allow it to simmer for a couple of minutes.

While the stir fry simmers, mix the special dipping sauce, crush peanuts and rinse off the lettuce. We like the addition of the peanuts to top the wraps.  The original recipe calls for iceberg lettuce which doesn't allow you to really wrap your lettuce wraps.  We've started using Boston Leaf lettuce which works very well!

This is a light dish that is filled with protein- it would be a great way to start of the New Year!  Enjoy!